Friday, November 1, 2013

30 Days 30 Cards Day 1


It's Day 1 of the 30 Days, 30 Cards event and I am up first.  Check out my Memory Works blog post to see the full message.  Here is the card I created:

  I used Echo Park's Reflections Christmas papers from the 6x6 paper pad (naturally), and My Mind's Eye Vintage Christmas stamp.  The baker's twine, brad, ornament and snowflake die cuts were from my stash.  This card went together in a snap. 

Be happy, get scrappy,

Jenn

Thursday, October 31, 2013

Coming soon, to the MemoryWorks blog...


Back for another year, it's the 30 Days, 30 Cards challenge.  The Memory Works team will post a sketch each day on the Memory Works blog and you are invited to participate in the fun!  Create a card using Memory Works products (past and present), post it to the 30 Days page on the blog and you'll be entered into the fun.  You'll have 30 great, hand-made cards when you're done.  I'll post here a recap of the week and the cards I've made for the challenge.  Let's see what you can do in 30 days!


A little preview of what's to come.

Be happy, get scrappy,

Jenn

Monday, October 14, 2013

It's Blog Hop Day!!!


It's finally here, Blog Hop day!!!  I've been looking forward to this for a month or so now.  I'm loving all the new products in the Fall/Winter catalog, which you can see here.

First, THANK YOU for patiently hopping along.  You've made to to the end! 

Today, I'm featuring products from Fancy Pants Capturing Moments.  I love the colors and images in this theme set.  I started with a basic two-page layout.  I don't worry much about scrapping chronologically and pull out pix that look good with the colors in them.

 As you can see, this is all about dying Easter Eggs.  I loved the colors of the papers with the colors of my granddaughters eggs. 

I used the 6x6" paper pad to for the die cut flowers and scalloped oval.  Otherwise, I let the paper speak to me.

I made good use of the ephemera pack, tags and ticket roll as well.  

When I got together with my crop circle, my friend Kim brought along some vintage Halloween images and ideas for the Halloween Crafternoon for which she was preparing.  I borrowed some of the images and supplies she brought, paired them with my Capturing Moments scraps and came up with this fun rosette.
I made the rosette with 2-2 1/2x12 inch paper strips that I edge-punched, and my Martha Stewart Score Board.  I fussy cut the pumpkin image and pulled out some of the pieces in the ephemera pack and layered them up.  Inked the edges too.  Isn't he cute?
This Boo tag started with a tag made from the 6x6" paper pad and layered with another piece from that pad.  I used a Studio Calico stencil and black soot distress ink for the next layer.  Another fussy cut vintage image and collar from a cupcake liner provided by Kim and ephemera and ticket from the collection.  

Looking over these three projects I realized I could have used holiday themed papers to create them, but rather than limit my creativity to papers only used for specific holidays I can use any papers I fall in love with and use them for any memory--holiday or otherwise.  

Again, thanks for hopping along.  I know you've seen some amazing projects from the TeamWorks girls.  Each is so talented and has a unique style.  I am honored to be a part of the team. 
Don't forget to leave your comment here on my blog for a chance to win a prize from Memory Works.  The more comments you leave, the more chances you have to win!  Can't beat that, huh?  You have until midnight CST to leave comments.

For a complete list of blogs participating in today's hop, see the Memory Works blog.

Thanks for stopping by!!!

Be happy, Get scrappy!!

Jenn


Thursday, August 29, 2013

in the kitchen

This is my favorite project right now.  I decided to create a Sn@p book featuring the photos I have cooking and baking with my loved ones.
 

I love to cook and bake and in my world tasty food = love.  And yes, that's why I am perpetually overweight.  LOL


When I go through photos I find so many pix cooking and baking with family and friends.  There are also lots of family recipes that have become favorites over the years.  I thought this would be a great way to collect them and pass them on.


I left open spaces to write in recipes of our favorites.  


I also added basic journaling.


I already put in a few recipes.


I'm using mostly Sn@p 24/Seven papers but I recently picked up some kitchen-y embellishments from the Farmhouse paper line and I can't wait to add them in as well.  Since the papers are so basic, I can mix and match them in easily.

Sn@p books are quickly becoming a favorite.  After making one at i {heart} memories retreat I became hooked.  In addition to this Sn@p book I worked with two friends to create a 2 volume first year baby book for a scrappy friend.  We gave it to her at her shower, and she claims it hasn't left her bedside since. It started out as 1 book.  We created so many pages we needed to expand to 2 books.  LOL  We did sections on getting ready for baby, welcome home baby, baby's firsts, baby's first year, family and a blank section to be used however she wants.  I'm planning a December Daily using a Sn@p book and looking for ways to incorporate pocket-page scrapbooking into my design style.  This is a trend that will help get more stories recorded and I'm all about getting our stories recorded.  So give Sn@p a try!

Be happy, get scrappy,

Jenn

Thursday, August 22, 2013

this is happiness

I created this layout for a MemoryWorks Creative Friday post.  I used Basic Grey's Mint Julip papers for this layout.  I layered the papers, tags, card and envelope and made some flowers using the 6"x6" paper pad and the Tim Holtz Mini Tattered Floral die.  


This simple layout uses layers to create interest and feature the photo of Dinara and myself.  It came together quickly once I found papers that picked up the colors in our clothes.  I love the little bird as well, a favorite punch from Stampin' Up!  

Be happy, get scrappy!

Jenn

Thursday, August 15, 2013

adventure

I created this little adventure journal to take with me on my trip this summer to Santa Fe, NM and Salt Lake City/Layton, UT.  My plan was to take it with me and fill it out as I traveled and I actually followed through with that plan!  Of course I couldn't add the photos until after I came home and printed them, but I took pix in the moment and journaled info about them.  It was challenging to guess how many pix I would put in, which ones, and how best to arrange them.


I started with two Sn@p sized full-sized page protectors and used them to create a soft covered book.  I could have easily used a Sn@p binder but I wanted a soft book that I could throw in my travel bag.  This worked perfectly. 


I used pockets throughout the book to tuck in memorabilia, here I've collected some of my luggage tags, including the weight tag from my suitcase.  I just made it with a 49lb suitcase. 


Since my morning started with missing my flight, I started my journal in the airport waiting for my new flight.  I used my iPhone to take pix.  I created pages of various sizes using the Sn@p papers, 4"x6" and 3"x4" journal cards.


I resized most of my photos to fit into my format.  I wrote right on the papers, not worrying about designs.


After I put all the photos and ephemera in I added in stickers and other embellishments that were left over from creating my album.


I'm glad I included this big pocket to tuck in maps, memorabilia and tons of extra photos.  I took so many photos...


I matted all the photos on kraft card stock for continuity, and inked them all as well.


Pockets were used to hold journaling cards as well.  I also used the day stickers to keep track of the day's journaling.


I am so glad I created this journal to take with me.  I met the wonderful team gals I've only known via cyberspace and had a great time working and playing with them. 


I also met many of the Home Office staff.  Boy do they work hard.  


I used the last page to wrap up my journaling and write some of my final impressions.  I was so exhausted here waiting to go home, missing my family and home.

Once again I bound my journal with my Bind-It-All.  I will treasure this journal forever, for the beautiful pix of our country, the fun times spent with family and friends and the thoughts I managed to record of my time away.

Be happy, get scrappy!

Jenn


Thursday, August 8, 2013

look book too

I made so many great projects with the papers MemoryWorks sent me to play with for the 2013 Spring/Summer Look Book I couldn't put them all in one post.  Here I'll showcase the Simple Stories 24/Seven papers.


I started with a mini perpetual calendar using the calendar cards included in the paper line.  For the cover I used one of the acrylic overlays to protect the paper cover.  I titled the book dates 2 remember and created a space to list birthdays and anniversaries for each month.


I created little tags for each month to make it easy to turn to the correct month quickly.


I used alphas from the sticker sheet to signify the birthday and anniversary list.


There were so many papers, stickers, chipboard embellishments, I had so much to work with.


I can even use a white pen to circle specific dates if I choose.


I used my Bind-It-All to put the book together.  I should never miss a birthday or anniversary again.  ;)


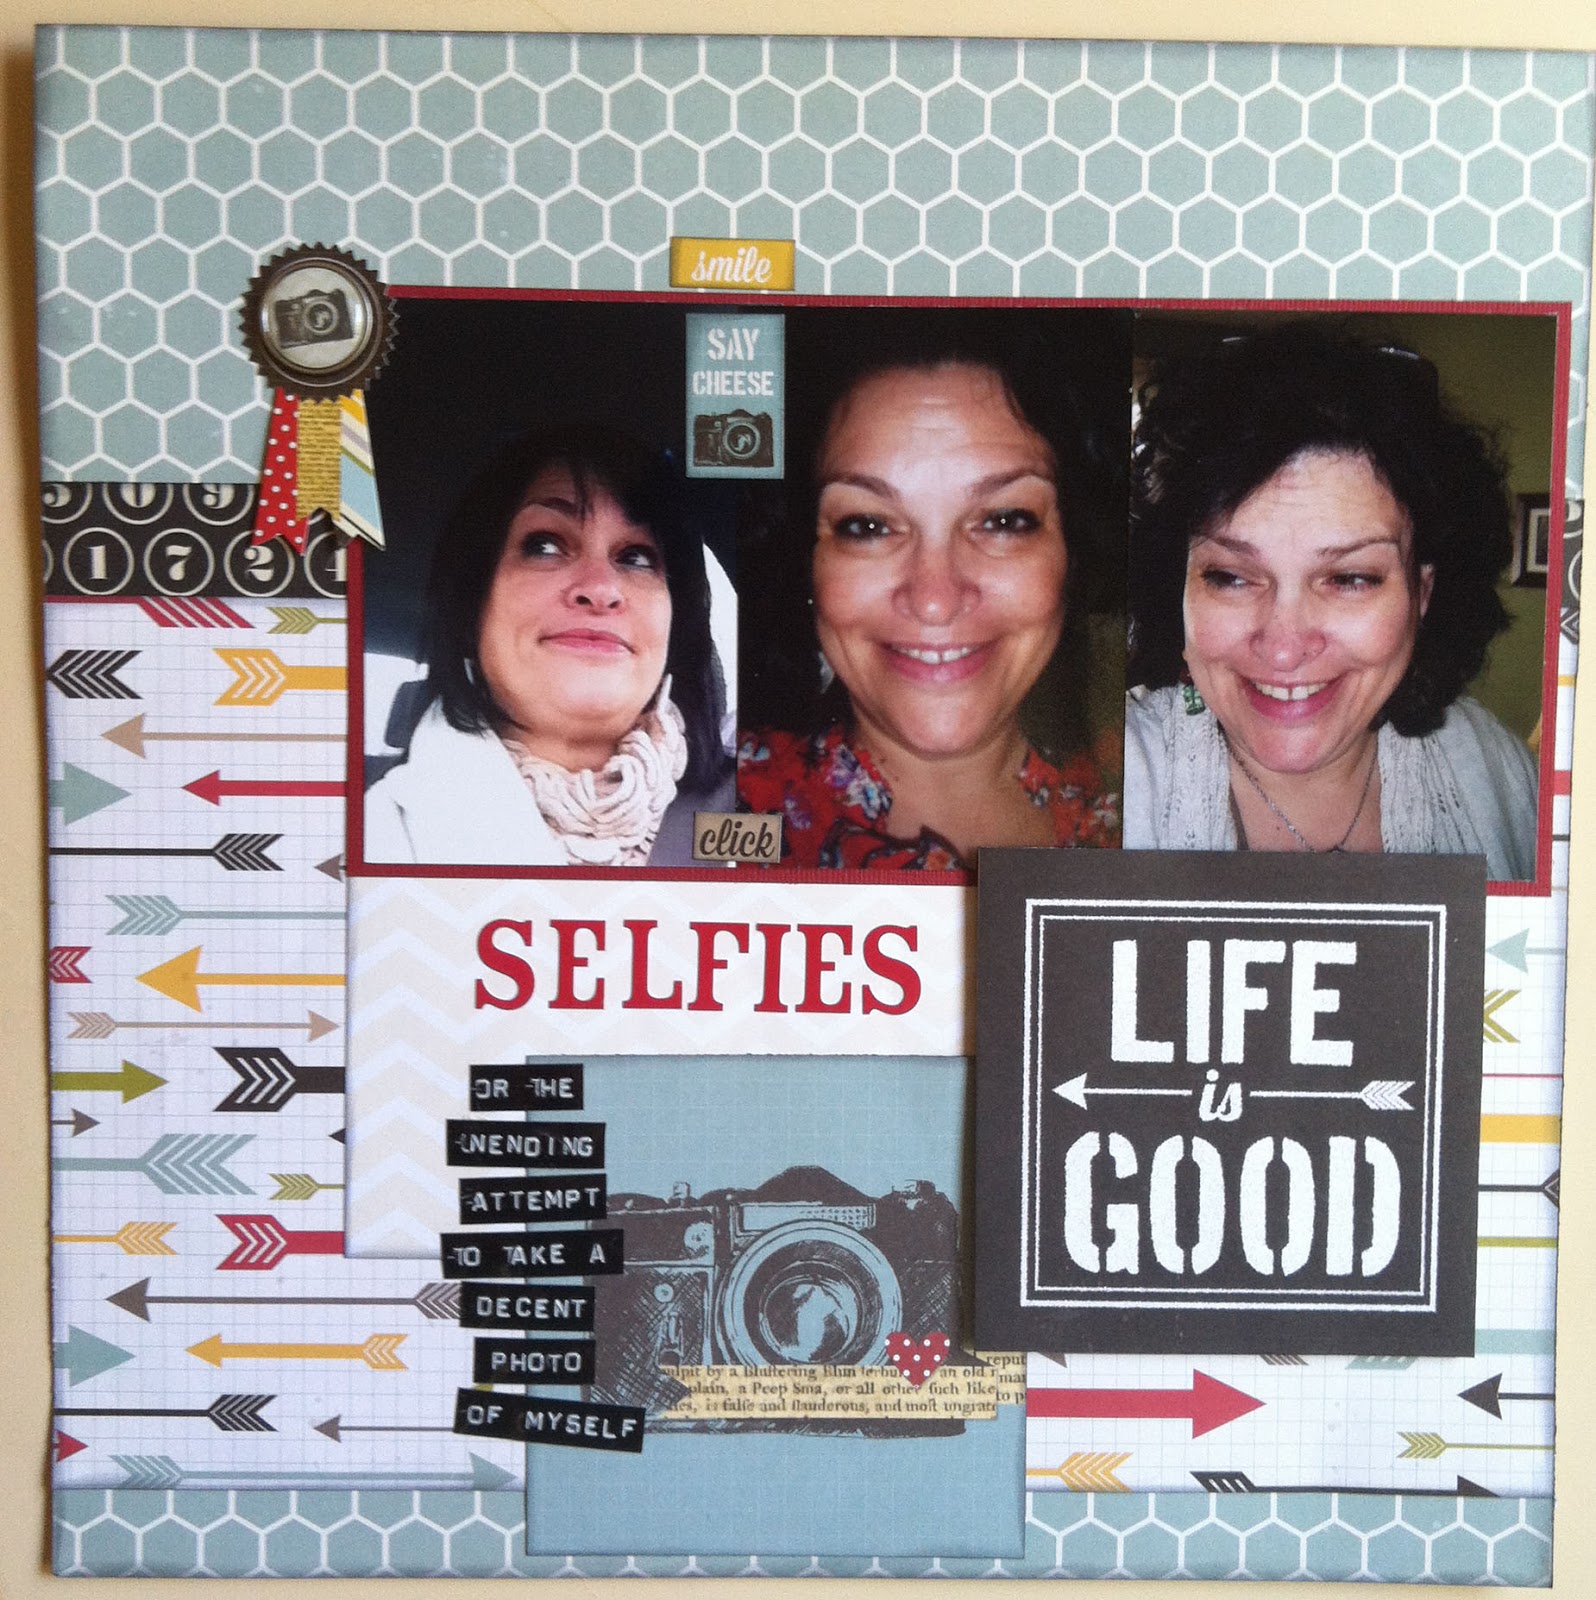
Selfies.  We all take them.  Here are some of mine.  One of these days I'll actually get a decent selfie.  Until then, I continue to try.  :)

Be happy, get scrappy!

Jenn