Today I'm excited be a part of the Clique Kits Wildflower Blog Share hop. It all started with Gia who sent us a pile of fun Carta Bella Wildflower papers along with a bag full of embellishment goodies. A few days later Lacey sent us an envelope of custom designed die cuts and flair to go with the Wildflower papers we received.
Here is the quote the challenge is based on: "May your life be like a wild flower...Growing freely in the beauty and joy of each day"- Native American Proverb Challenge: Use something "wild" on your page. Literal interpreatation: a wild animal or plant. Figurative interpretation: something unique/different for YOU!
You should have arrived here from Lacey's blog. If you didn't, be sure and go back and check out her projects.
I received so much product I couldn't stop myself. I'll start with a couple of layouts:
What's so wild about this layout? The moose head and moose sticker I used to embellish this layout of some of my favorite summer blooms. The literal interpretation. I also hand-sewed a circle to further frame my layout.
I love the ombre color of this paper. My wild element here is using the mesh ribbon from the kit as first, a stencil and then second, as an embellishment. I used the Perfect Pearls powder with Watermark ink for the stenciling. To the kit I added crimped, gray cardstock, burlap, and a gray flower with some machine-sewing to complete this page.
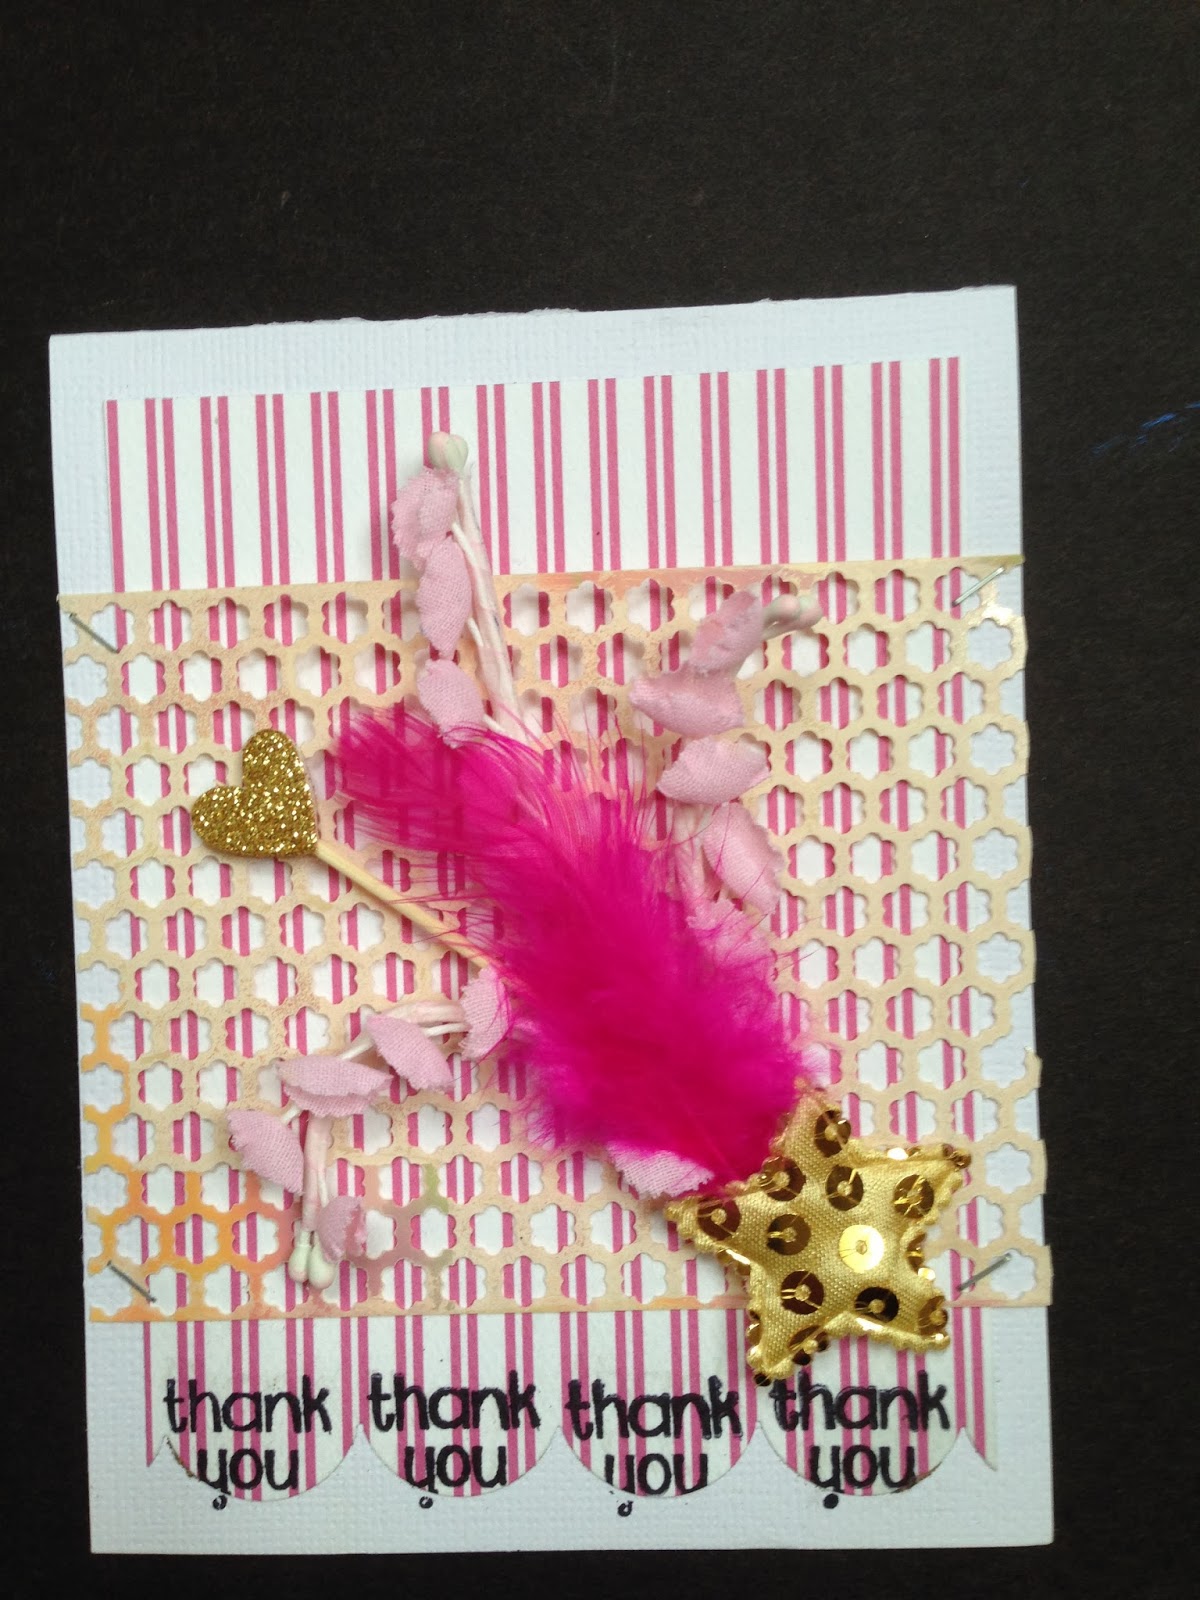
I made a couple of cards as well. I used bits and pieces of papers, embellishments, flair and even feathers to make these two cards. Feathers and the little fox are the wild elements on these.
I also made a couple of ATCs as well. I used the mesh ribbon with some texture paste to make the plain cardstock more interesting. I made a color mist with the Perfect Pearls mixed into some water in a spritzer bottle. I used some of the layered flowers I made for the project below to finish these off.
And finally what I'm calling a chunky tag. Fun, huh?
Here's how it started. I took a piece of wood, three inches wide, six inches long and not quite an inch thick.
I made paint mixing the Perfect Pearls powder with some water. I painted it on with a brush, allowing it to dry between coats.
I die cut a bunch of flowers with my Tim Holtz tattered florals mini die.
I layered up the flowers after inking and added Glitz rhinestones to the centers.
The little "art doll" is my wild element. I've never made one of these before. I picked up the die a few weeks ago in the clearance bin at ACMoore.
I layered on the mesh ribbon, the photo frame die, leaf die, flowers, and a butterfly from my stash. The flower angel wings are Tim Holtz grunge board covered with Distress Crackle paint and dabber.
So, if you're still with me here, thanks for checking out my projects! Next up, Cathie's blog. Be sure to leave me a comment and follow me for more chances to win this fabulous prize.
Every blog you leave a comment on enters you to win the prize. Share on Facebook for an extra entry.
Jenn


